
What to Do If You Cannot Find Where a Subscription Is Billed
Quick Answer
If you cannot find where a subscription is billed, do not start by deleting the app or closing your account. Start by finding the billing provider.
A subscription may be billed through:
The company’s own website
Apple App Store
Google Play
Amazon
Roku
PayPal
A credit or debit card
A family member’s account
An old email address
A business, school, or shared account
The fastest way to track it down is to search your email for receipts, check your Apple and Google subscription settings, review PayPal automatic payments, and look closely at the charge name on your bank or card statement.
Not-Subscribed’s playbook specifically identifies this as a core “Billing Detective Guide” problem: readers often know they are being charged, but not whether Apple, Google, Amazon, Roku, PayPal, or the company itself is handling the billing.
First: Do Not Delete the App Yet
Deleting an app usually does not cancel the subscription.
That is one of the most common subscription traps. The app can disappear from your phone while the billing continues quietly in Apple, Google Play, PayPal, Amazon, or the company’s own account system.
Before deleting anything, try to answer one question:
Who is actually billing you?
That is the key. Once you know the billing provider, you can usually find the cancellation path.
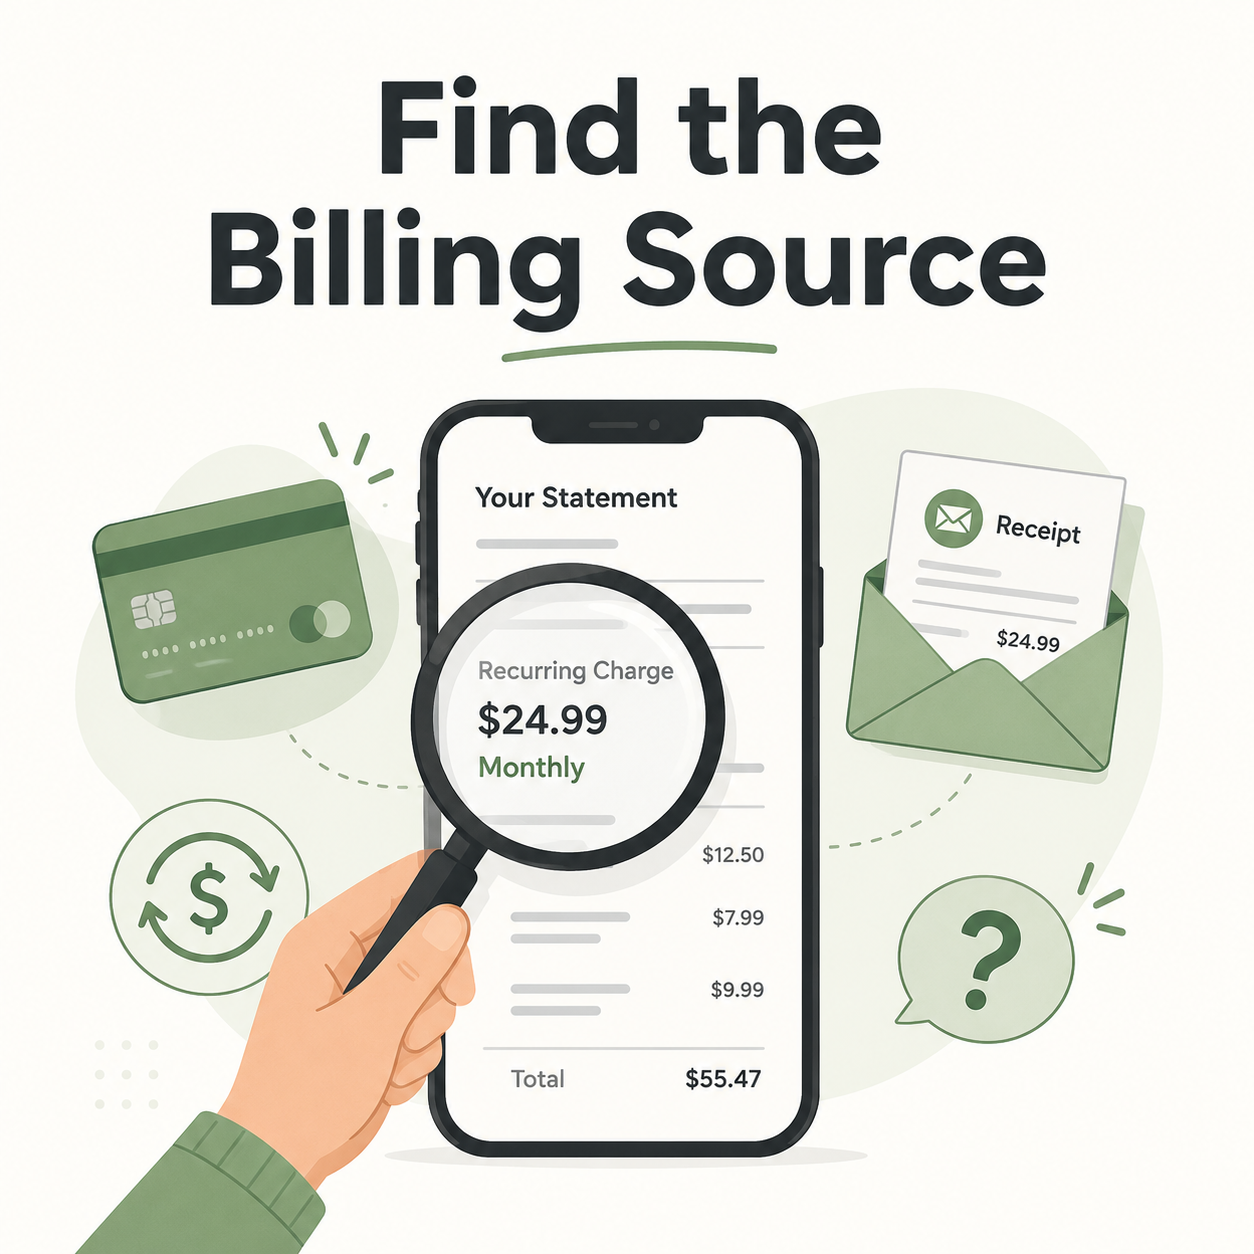
Step 1: Look Closely at the Charge Name
Open your bank or credit card statement and find the recurring charge.
Look for names like:
GOOGLE *APPNAME
PAYPAL *MERCHANT
AMZN DIGITAL
ROKU
SQ *BUSINESS NAME
The app or service name
A parent company name you do not recognize
The name on your statement may not exactly match the app you signed up for. Some companies bill under a parent company, payment processor, or shortened merchant name.
What to write down
Create a quick note with:
The exact charge name
The amount
The billing date
Whether it repeats monthly, yearly, weekly, or after a trial
The last four digits of the card being charged
This gives you a starting point before you contact support or your card provider.
Step 2: Search Your Email for Receipts
Most subscriptions send at least one receipt, renewal notice, free trial confirmation, or welcome email.
Search every email account you might have used.
Try searches like:
subscription
receipt
renewal
trial
invoice
payment
membership
plan
Apple
Google Play
PayPal
The exact dollar amount, such as $9.99
The charge name from your card statement
Also check:
Promotions folder
Spam folder
Archived emails
Old Gmail, Yahoo, Outlook, iCloud, school, or work accounts
If you find the receipt, look for wording like:
“Billed by Apple”
“Managed through Google Play”
“Your PayPal payment”
“Your subscription renews”
“Manage subscription”
“Cancel plan”
“View invoice”
That small line often tells you where to cancel.
Step 3: Check Apple Subscriptions
If you use an iPhone, iPad, Mac, or Apple ID, check Apple first.
On iPhone or iPad
Open Settings.
Tap your name at the top.
Tap Subscriptions.
Look for the subscription.
Tap it to see renewal, expiration, or cancellation options.
If the subscription appears here, canceling inside the app or on the company’s website may not work. You likely need to cancel through Apple.
Also check Apple purchase history
Some charges appear in purchase history even if they are not obvious in the active subscription list.
Look for:
The app name
A parent company name
The same amount as the card charge
A renewal date that matches your statement
Step 4: Check Google Play Subscriptions
If you use Android or signed up through a Google account, check Google Play.
On Android
Open the Google Play Store.
Tap your profile icon.
Tap Payments & subscriptions.
Tap Subscriptions.
Look for the subscription.
Tap it to manage or cancel.
Make sure you are signed into the correct Google account. Many people have more than one.
Check:
Personal Gmail
Old Gmail
Work Google account
Family member’s device account
Tablet or secondary phone account
Step 5: Check PayPal Automatic Payments
PayPal can keep charging even when you no longer use the service often.
Log in to PayPal.
Go to Settings.
Open Payments.
Look for Automatic payments or recurring payments.
Review active merchants.
Cancel the automatic payment if it matches the subscription.
PayPal merchant names can be vague, so compare:
Amount
Billing date
Merchant name
Email receipts from PayPal
If PayPal processed the payment, the company’s website may still show your account, but PayPal may be the place where the recurring payment is controlled.
Step 6: Check Amazon, Roku, and Other Platform Billing
Some subscriptions are not billed by the app at all. They are billed by the platform where you first subscribed.
Check Amazon
Look for:
Prime Video Channels
Kindle Unlimited
Audible
Subscribe & Save
Appstore subscriptions
Amazon digital subscriptions
Amazon charges may show as AMZN, Amazon Digital, or a similar merchant name.
Check Roku
If you subscribed through a Roku device or Roku account, the service may tell you to cancel through Roku instead of directly through the streaming app.
Check your Roku account for active subscriptions and channel memberships.
Check other platforms
Also consider:
Samsung TV subscriptions
Xfinity, Verizon, T-Mobile, or other carrier bundles
PlayStation or Xbox subscriptions
App subscriptions started on a smart TV
The annoying part: the app may know you are subscribed, but not control the billing. That is app-store billing confusion in action.
Step 7: Check the Service’s Website
If Apple, Google, PayPal, Amazon, and Roku do not show the subscription, go directly to the service’s website.
Do this from a browser, not just the app.
Go to the company’s website.
Sign in.
Open Account, Settings, Billing, Membership, or Plan.
Look for Manage subscription, Cancel plan, Turn off auto-renewal, or Billing history.
Check whether the account shows an active plan.
Use every email address you may have used to sign up.
This matters because you may have created the subscription with:
An old email
Apple private relay email
Google sign-in
Facebook sign-in
A work email
A family member’s email
A typo in your email address
Step 8: Search Password Managers and Saved Logins
Your browser or password manager can give clues.
Check:
iCloud Keychain
Google Password Manager
Chrome saved passwords
Safari saved passwords
1Password, LastPass, Bitwarden, Dashlane, or similar tools
Search for the service name, parent company, or charge name.
If you find an old login, sign in and check billing settings.
Step 9: Ask Family Members or Shared Account Users
Some mystery subscriptions are not yours — at least not directly.
Ask whether anyone in your household has:
Used your card for a free trial
Subscribed through a family Apple ID
Used your PayPal account
Started a streaming subscription on a smart TV
Added your card to a game console
Signed up under a child, partner, roommate, or parent account
No shame here. Subscription billing is very good at becoming a household scavenger hunt.
Step 10: Contact the Company With Specific Details
If you think you know the company but cannot find the account, contact support.
Give them:
The exact charge name
Charge amount
Charge date
Last four digits of the card
Your likely email addresses
Any receipt or transaction ID
Screenshot of the statement with unrelated details hidden
Ask:
“Can you identify the account associated with this recurring charge and tell me where it is billed?”
Do not send your full card number over chat or email.
A good support team should be able to tell whether the subscription is direct-billed or managed through Apple, Google, PayPal, Amazon, Roku, or another provider.
Common Reasons You Cannot Find the Subscription
You subscribed through a third party
The company may not control the cancellation. Apple, Google, Roku, Amazon, or PayPal might.
You used a different email
This is extremely common. A subscription can be active under an old login while you are checking the wrong account.
You deleted the app
Deleting the app removes the icon, not necessarily the billing agreement.
The merchant name is unfamiliar
The charge may appear under a parent company, payment processor, or abbreviated billing name.
You are in a family or shared plan
Another person may manage the subscription, while your card is being charged.
The free trial converted
You may not remember signing up because the charge started after a trial period.
The subscription is annual
Annual renewals are easy to miss because they do not appear every month.
What to Do If You Still Cannot Find It
If you have checked the likely billing providers and still cannot identify the subscription, take these steps.
1. Contact your card provider
Ask whether they can provide more merchant details, such as:
Merchant phone number
Merchant category
Billing descriptor
Website
Location
Processor information
Sometimes the expanded transaction details reveal the company.
2. Contact the merchant if identified
Use the merchant name or phone number from your card provider and ask them to locate the account.
3. Lock or replace the card only if needed
Replacing a card may stop some charges, but it is not always a clean solution. Some recurring billing arrangements can update automatically through card network updater services.
It is better to cancel at the source when possible.
4. Dispute only when appropriate
If the charge is unauthorized, or you made reasonable attempts to cancel and the company keeps charging, contact your card provider about your dispute options.
Keep records:
Receipts
Cancellation attempts
Chat transcripts
Emails
Screenshots
Dates and times of support contact
How to Confirm the Subscription Is Actually Canceled
Once you find the billing source and cancel, do not stop at the first “Are you sure?” screen.
Look for proof.
Save:
Confirmation email
Screenshot showing canceled status
Expiration date
Final billing date
Cancellation confirmation number
Chat transcript from support
The best confirmation language usually says something like:
“Your subscription has been canceled”
“Your plan will expire on [date]”
“Auto-renewal is off”
“You will not be charged again”
If it only says “Your request has been received,” keep checking until the account status changes.
How to Avoid This Next Time
Before starting a free trial or subscription, make a quick note with:
Service name
Billing provider
Signup email
Renewal date
Price after trial
Cancellation deadline
Where to cancel
You can also set a calendar reminder two or three days before renewal.
This sounds boring. It is also much more fun than paying $14.99 for something you last used during a three-day productivity phase.
The Not-Subscribed Note
Mystery subscription billing usually happens because the modern subscription system is split across apps, platforms, payment processors, and account logins.
That creates billing friction: you know money is leaving, but you do not know which door controls the exit.
It is also a classic side effect of negative option billing, where charges continue unless you actively cancel. The cancellation path may be simple once you find it — but finding the right billing source can be the hard part.
Cancel smarter. Subscribe slower.