
How to Cancel Music Streaming Subscriptions Without Losing Track of Who Is Billing You
Quick Answer
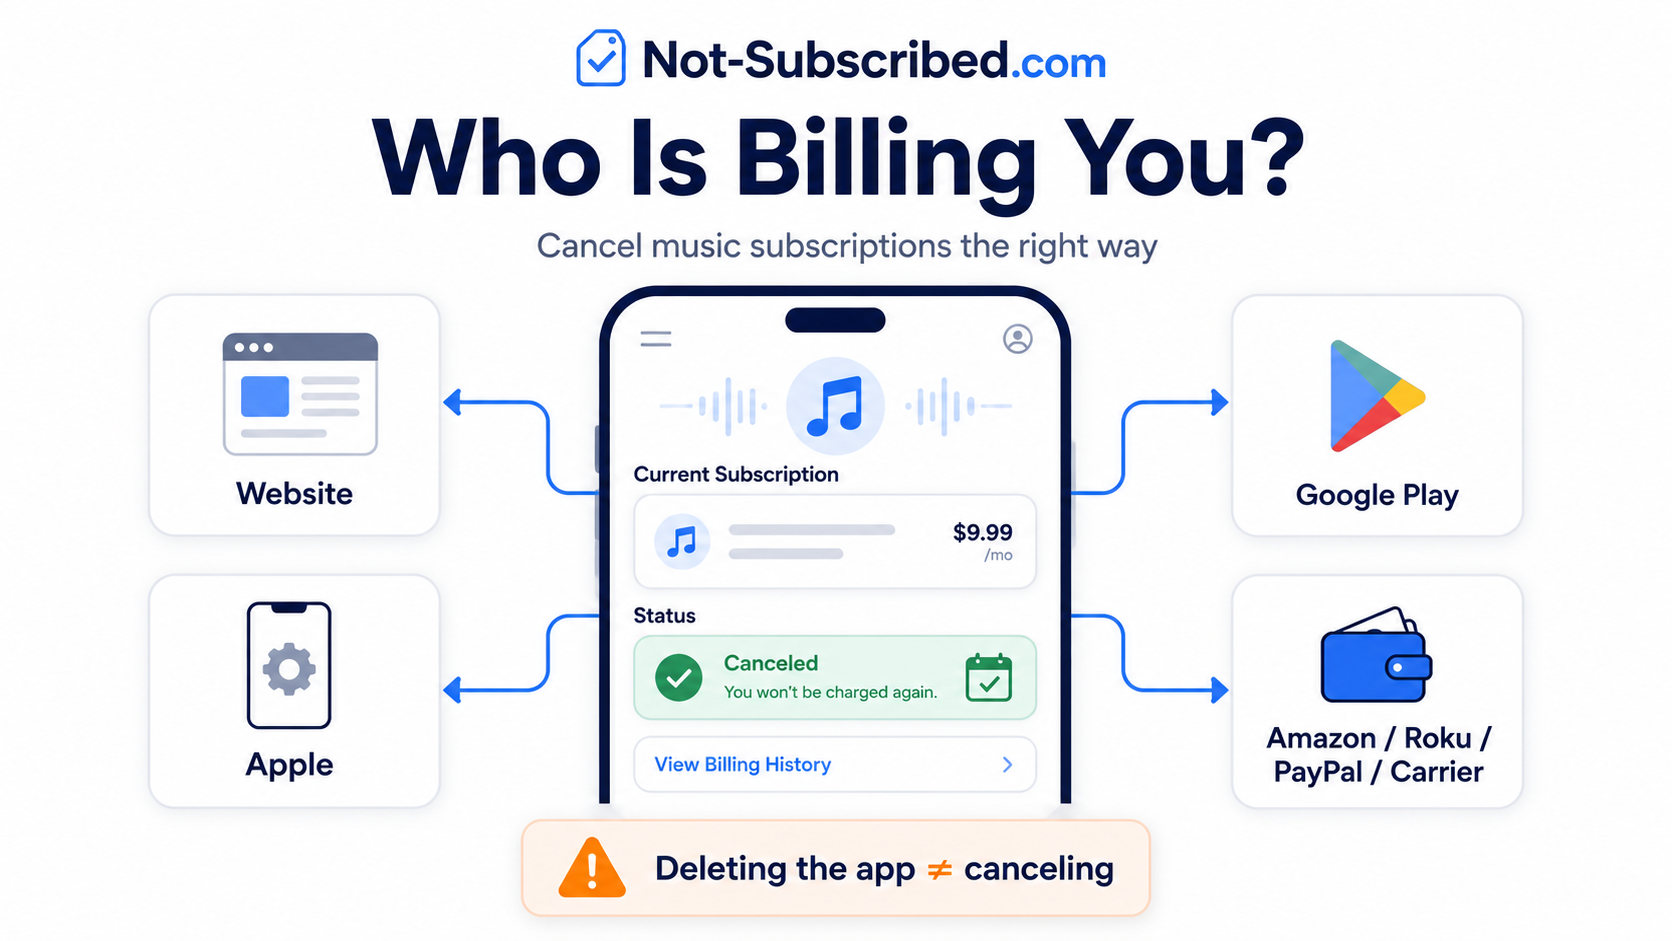
To cancel a music streaming subscription, first figure out who is billing you.
Here is the basic decision tree:
Direct website billing: cancel on the music service’s website.
Apple billing: cancel in your iPhone, iPad, or Apple account subscriptions.
Google Play billing: cancel in Google Play subscriptions.
Amazon, Roku, PayPal, or carrier billing: cancel through that billing provider.
Deleting the app: does not cancel billing.
That last one is the subscription trapdoor. Removing Spotify, Apple Music, YouTube Music, Pandora, TIDAL, Deezer, Amazon Music, or any other music app from your phone usually only deletes the app from your device. It does not necessarily stop the payment.
This hub follows the Not-Subscribed style: help the reader find the cancellation path first, then explain the subscription friction behind the confusion.
Why Music Subscriptions Are So Easy to Lose Track Of
Music subscriptions seem simple until the bill shows up somewhere unexpected.
You might have signed up:
on the music service’s website
inside an iPhone app
inside an Android app
through Amazon
through Roku
through PayPal
through your mobile phone carrier
as part of a bundle
That means the app you listen with may not be the company charging your card.
For example, Apple says subscriptions bought through Apple or in App Store apps can be viewed, changed, or canceled from Apple subscription settings. Google says Google Play subscriptions can be canceled from the Play Store subscription area. PayPal lets users manage some recurring payments under automatic payments or saved businesses.
The trick is not to ask, “Which app do I use?”
Ask: “Who is actually billing me?”
The Music Subscription Cancellation Decision Tree
1. Are you billed directly by the music service?
Use this path if your card statement says something like the service name itself, or if your receipt came directly from the music company.
Common examples:
Spotify
TIDAL
Deezer
Pandora
SoundCloud
SiriusXM
Qobuz
Amazon Music, if billed directly through Amazon
What to do:
Go to the music service’s website.
Sign in to the account that has the subscription.
Open Account, Settings, Plan, Billing, or Subscription.
Choose Cancel, Manage plan, Turn off auto-renewal, or similar wording.
Follow every confirmation prompt until the account shows canceled, downgraded, or expiring.
Important: Some services do not allow full cancellation from the mobile app, even if you can stream music there. Use a browser when in doubt.
Related guides to create or link:
2. Are you billed through Apple?
Use this path if your statement says Apple, Apple.com/bill, or the subscription appears under your Apple account.
Apple’s current support instructions say to open Settings, tap your name, tap Subscriptions, choose the subscription, and tap Cancel Subscription. Apple also notes that if there is no cancel button or you see an expiration message, the subscription may already be canceled.
How to cancel on iPhone or iPad:
Open Settings.
Tap your name.
Tap Subscriptions.
Select the music subscription.
Tap Cancel Subscription.
Confirm the cancellation.
This path can apply even if the music app is not made by Apple. If you subscribed inside an iPhone app using Apple billing, Apple may be the billing provider.
Related guides to create or link:
3. Are you billed through Google Play?
Use this path if your statement says Google, Google Play, or the subscription appears in your Google Play account.
Google’s support instructions say Android users can go to subscriptions in Google Play, select the subscription, tap Cancel subscription, and follow the instructions.
How to cancel through Google Play:
Open the Google Play Store.
Tap your profile icon.
Tap Payments & subscriptions.
Tap Subscriptions.
Select the music subscription.
Tap Cancel subscription.
Follow the prompts until it is confirmed.
Google Play can also support subscription changes such as pausing payments for some subscriptions, depending on the app and plan.
Related guides to create or link:
4. Are you billed through Amazon?
Use this path if the charge appears through Amazon, your Amazon account, or an Amazon-managed subscription page.
Amazon says users can manage subscriptions by going to Your Memberships and Subscriptions, finding the subscription, selecting Manage Subscription, and choosing the cancellation option. For Prime Video subscriptions, Amazon also notes that if a subscription was created through a third party, such as a mobile service provider, the user may need to contact that provider instead.
How to check Amazon billing:
Sign in to Amazon.
Go to Memberships & Subscriptions.
Look for the music subscription.
Select Manage Subscription.
Choose the cancellation or auto-renewal option.
Save confirmation.
Related guides to create or link:
5. Are you billed through Roku?
Use this path if you subscribed on a Roku device or your statement points to Roku.
Roku says subscriptions may be managed or canceled depending on how the user signed up. Roku also says subscriptions purchased through a Roku account can be managed through Roku’s subscription area, and some can be canceled directly from a Roku TV or device by highlighting the app tile and pressing the star button on the remote.
How to check Roku billing:
Sign in to your Roku account.
Open Manage your subscriptions.
Look under active subscriptions.
Select the subscription.
Choose the cancellation or auto-renewal option.
Confirm the change.
Related guides to create or link:
6. Are you billed through PayPal?
Use this path if your payment history shows the music service charging through PayPal.
PayPal says users can find automatic payments on the website by going to Settings, then Payments, then Subscriptions and saved businesses or Automatic Payments, selecting the merchant, and canceling the automatic payment from there.
How to check PayPal billing:
Sign in to PayPal.
Open Settings.
Go to Payments.
Select Automatic Payments or Subscriptions and saved businesses.
Choose the music service or merchant.
Cancel the automatic payment if appropriate.
Save proof.
One caution: stopping a PayPal automatic payment may stop PayPal from paying that merchant, but you should still check the music service account itself to make sure the subscription is actually canceled.
Related guides to create or link:
7. Are you billed through your phone carrier?
Use this path if the charge appears on a Verizon, AT&T, T-Mobile, or other mobile carrier bill.
Some music subscriptions are bundled with phone plans, trial offers, family plans, or promotional add-ons. In that case, the music app may show an active subscription, but the billing control may live with the carrier.
What to do:
Check your mobile carrier account.
Look for Add-ons, Services, Entertainment, Subscriptions, or Plan benefits.
Find the music subscription.
Remove the add-on or turn off renewal.
Save confirmation.
If you cannot find it, contact the carrier and ask:
“Is this music subscription billed through my wireless account, and can you remove or cancel the add-on?”
Related guides to create or link:
Deleting the Music App Does Not Cancel the Subscription
This deserves its own section because it causes a lot of unnecessary charges.
Deleting the app usually means:
the app is gone from your device
your downloaded songs may be removed from that device
you may stop seeing reminders inside the app
But it usually does not mean:
your subscription is canceled
your card will stop being charged
your free trial will stop before conversion
your account is closed
Think of the app as the stereo. The billing agreement is the power cord. Throwing away the stereo does not always unplug the power.
Related guide to create or link:
How to Figure Out Who Is Billing You
If you are not sure where the music charge is coming from, start here.
Check your card statement
Look for the exact billing name. It may say:
Apple
Google
Amazon
Roku
PayPal
the music service name
your mobile carrier
a parent company or payment processor
Search your email
Search your inbox for:
“subscription”
“receipt”
“renewal”
“music”
“premium”
“trial”
the service name
Apple
Google Play
PayPal
Amazon
Roku
Receipts usually reveal the billing provider faster than the app does.
Check subscription dashboards
Look in these places:
iPhone: Settings → your name → Subscriptions
Android: Google Play → Payments & subscriptions → Subscriptions
Amazon: Memberships & Subscriptions
Roku: Manage your subscriptions
PayPal: Settings → Payments → Automatic Payments
Check family accounts
Music plans are often shared. The person listening may not be the person paying.
Check:
Apple Family Sharing
Google family groups
Spotify family plan manager
Amazon household
carrier family plans
shared PayPal or household cards
Common Roadblocks When Canceling Music Subscriptions
“The app says I need to cancel somewhere else”
This usually means the music service can see your subscription but does not control the billing. Go to Apple, Google Play, Amazon, Roku, PayPal, or your carrier.
“I canceled, but I still have access”
That can be normal. Many music subscriptions continue until the end of the paid billing period. Look for an expiration date or “access until” date.
“I cannot find the cancel button”
Check whether you are signed into the correct account. Then check whether the subscription was purchased through a third party. If Apple or Google is billing you, the cancel button may not appear on the music service’s website.
“I see a discount offer before cancellation”
That is a retention flow. It may be a real offer, but it is also part of the save attempt. Read carefully and keep going until you see cancellation confirmation.
“I canceled one account, but I am still charged”
You may have more than one account, especially if you signed up with different emails, Apple ID, Google account, Facebook login, phone number, or family plan.
How to Confirm the Music Subscription Is Actually Canceled
Do not stop at “I think I clicked the right button.”
Look for proof:
a confirmation email
account status showing canceled
subscription showing an expiration date
renewal date removed
Apple or Google subscription showing canceled or expiring
PayPal automatic payment showing inactive
Amazon, Roku, or carrier account showing the add-on removed
Take a screenshot. Save the confirmation email. Future you deserves evidence.
What to Do If You Are Still Charged
If another charge appears after cancellation:
Check the billing name again. It may be a different provider than you expected.
Search your email for receipts. Look for the account, platform, and renewal date.
Check Apple, Google Play, Amazon, Roku, PayPal, and carrier billing.
Contact the billing provider that processed the charge.
Contact the music service with screenshots and cancellation proof.
Request a refund if appropriate, but do not assume one is guaranteed.
Dispute with your card provider only after reasonable direct attempts, unless the charge is clearly unauthorized.
The goal is to avoid bouncing between support teams. Start with the company that actually processed the payment.
Music Streaming Cancellation & Billing Guides
Use this hub as your starting point.
Major music services
Billing-provider guides
Billing detective guides
The Not-Subscribed Note
Music streaming subscriptions are a classic example of app-store billing confusion mixed with negative option billing.
The subscription keeps renewing unless you actively cancel, but the cancellation path depends on where you signed up. That creates cancellation friction: not always because the music service is hiding the exit, but because the billing path may live somewhere else entirely.
Cancel smarter. Subscribe slower. And before you delete the app, follow the money.
Disclaimer
Subscription settings and cancellation steps can change. This guide is for general informational purposes and is not legal or financial advice. Always confirm cancellation directly in your account or with the billing provider.